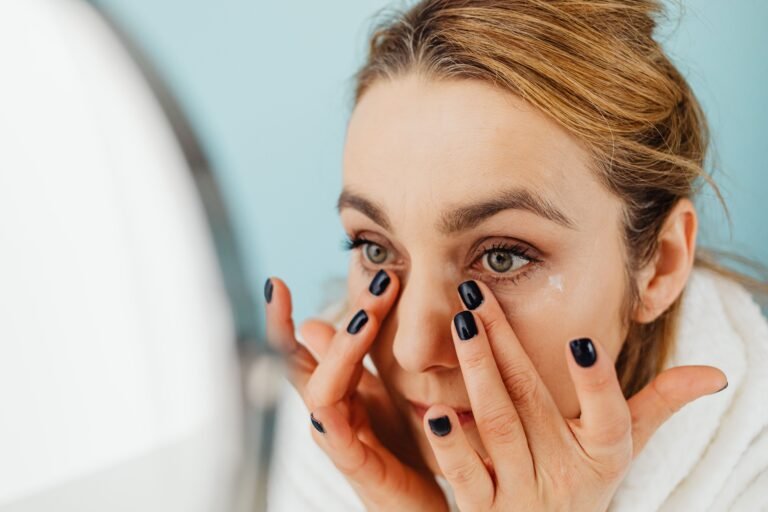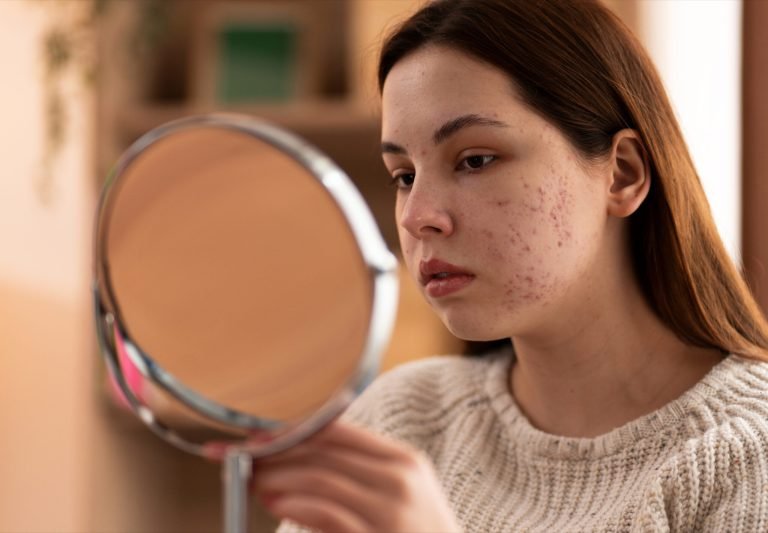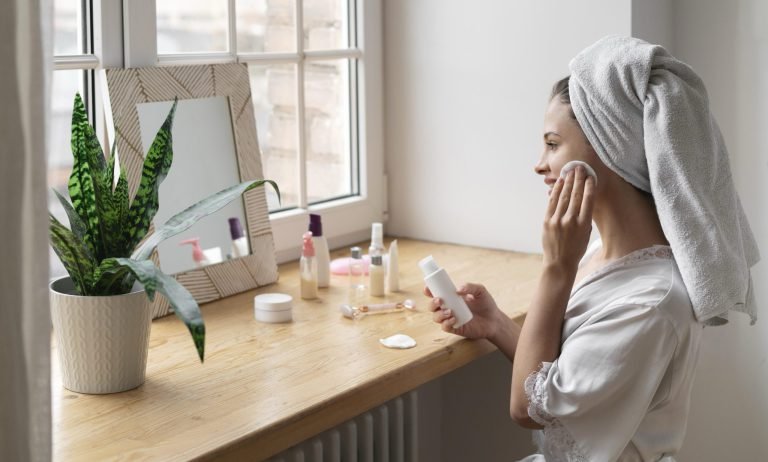


Do you remember the time of lock-down? Like all other women, you had also experienced the problem of adding to a pamper routine, a perfect at-home facial. Yes, this was hectic at that time because a perfect at-home facial consists of a lot of steps of using skincare products to cleanse your skin. These skincare steps during at-home facials are not easy and you have to perform the procedure once a month. But with the passage of time all the women have got experience to do at-home facial. Women need facials as it is the best way of taking care of your skin. If you have a great knowledge about all steps of at-home facial; and the skincare care products used during the procedure, you can get benefits of a spa facial treatment, without the expensive price tag.
Keep reading to discover how to do a perfect at-home facial in 10 simple steps without expensive skin care products. This procedure will help you achieve a radiant-looking and glowing complexion.
What is a Perfect At-Home Facial?
You enjoy many luxuries by spending a lot of money but treating yourself with a perfect at-home facial is a luxury that you can enjoy without high expenses. Facial procedure helps cleanse, exfoliate, and nourish your skin. Through facials you can achieve a clear and hydrated complexion with a brighter look. The Pandemic era is the time when females experienced a lot of problems getting a professional facial because the salons had stopped working. In that era the beauty conscious women tried to develop some simple ways to get a facial at home. And now, in normal days even without the pandemic era, most females like to do a facial at home.
In addition, a multitude of devices and skin care products have made it easy for everyone to take facial steps at home like a face wash at home.
Experts suggest that nighttime is the best time to start at-home facial because during the daytime your skin comes into a protective mode but at night you can easily treat or repair it because skin is in relaxed mode at that time. This means your skin is more ready to accept love and care at night.
How to Get Started?
No doubt that getting an at-home facial on your own is a tiring task but it includes a true skincare regimen. Your beauty is your personal matter and you have to take it as a personal task. So, first things first, focus on your mood. Yes, as a first step you have to set a pair mood. This is as easy as turning a candle on. You can make your mood for having a relaxing facial at home by listening to relaxing music and drinking a drink of your choice. Try the things that can take you to your most serene state. And when you feel comfortable, get started.
Here are some easy steps for treating yourself with a perfect at-home facial.
Step 1: Cleanse your Skin
To do any new work on the surface, first clean it. Similarly, in order to get the best results, start with a clean facial surface. If you’re wearing makeup, use a cleansing skincare product that may be a cream, a lotion or any cleanser, to cleanse your face. Then use a foaming soap or gel to remove the residue with a cotton bud. The chemicals found in most makeup products are generally removed with emollients.
Therefore, it is suggested to massage a lotion or oil on the dry skin. Then massage with wet fingers for a few seconds. Experts recommend that using a microfiber washcloth to fir rinsing can provide lifting action and may help make it sure that all will come off. Now, cleanse the skin with a sulfate-free, low-foaming skin care cream that is rich in nourishing components and free from harsh chemicals. These cleansing creams and lotions do not dry your skin out.
Studies show that your skin has specific barriers that are specialized in producing a certain amount of oil. Complete stripping off of that oil will send a wrong message to your skin cells and it may start more oil in response. This will create imbalances in your skin. So, if you have oily skin, you may want to opt for a cleanser, which can remove only the excess oil. But for dry skin, it is suggested to cleanse the skin without stripping the skin.
And the last, for normal skin, use a gentle exfoliator that can help remove dirt and oil gently.
Double Cleanse
This is the additional preparatory step of a perfect at-home facial. Staying cleanse means to prepare your skin for a facial. The first cleanse helps get rid of the grime and topical dirt while the second cleanse is done to have a deep clean right into your pores so that they may get ready to soak up all the goddesses to follow.
Step 2: Exfoliation
The second basic step of at-home facial is exfoliation. According to experts’ recommendations, exfoliation is the most effective way to get rid of dead skin cells. The dead skin cells make a layer on your face skin that prevent the beauty products from getting absorbed. After exfoliation, the dead laye vanishes and your skin becomes able to absorb other skincare products properly. Scrubbing is also unknown as exfoliation. Scrubbing can help prevent potential breakouts and clogged cores, leaving you with a smoother, brighter and clarified complexion.
Different types of exfoliators include:
Chemical Exfoliators: These are the chemicals that have lactic acid or glycolic acid.these chemicals help dissolve dead skin cells.
Physical Exfoliators: Facial scrubs are also called physical exfoliators. You can use derma-planing blades and at-home microdermabrasion tools to remove dead skin cells.
Experts recommend that both types of exfoliators are useful for the exfoliation process during at-home facials. It depends on your own choice or your skin type. Start with an acid exfoliator. Then apply a physical exfoliator as a scrub to ensure the complete removal of dead skin cells. Try some natural exfoliators to protect your skin from side effects of harsh chemicals used in skincare products. Some skin types need just one of them due to their certain specifications.
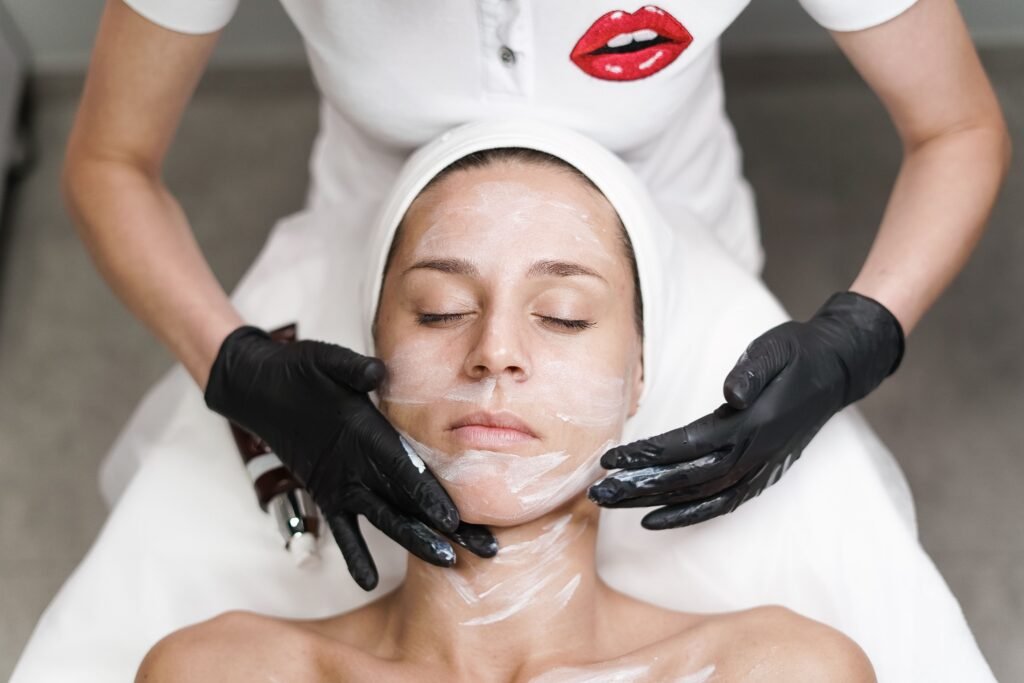
Step 3: Steaming
Freshly exfoliated skin is ready for steaming. Steaming offers a lot of benefits. For example, steaming increases the internal temperature of your skin and slightly widens the poses of skin. The steaming and opening of skin pores make it easy to harden oils in the pores and melt blackheads off your skin. This makes extractions easier to perform. Steaming is the best way to hydrate your skin by improving your blood flow. This helps in skin’s moisturization. Following steps can help you perform at-home steaming properly:
- Take a bowel full of hot water but not boiling.
- Say 8 to 10 inches away from the water bowel.
- Cover your head with a towel.
- Tap your face to dry it, after steaming for a few minutes.
Experts suggest that following up with moisturizing skin care products quickly after steaming can help you achieve a glowing skin. The moisturizing may be in the form of extraction or a mask. Avoid leaving your skin bare after steaming because it may make your skin tight by losing all the moisture. However, steaming is not good for those who have skin problems, such as melasma or psoriasis. You should consult a dermatologist to make sure streaming is the best step for your skincare routine. Moreover, keep it in mind that steaming longer than 10 minutes is not suitable because it can develop risk of dehydration.
Step 4: Extraction
Extracting your own blackheads is the most important step and should be done with intense care because careless extraction can cause damage to your skin and pores. Follow the directions for a careful extraction:
- Follow the extractor manufacturers instructions printed on the packaging, strictly, if you’re using an extractor tool.
- Wash your hands thoroughly before using your fingers.
- Wrap toilet paper or tissue on your fingers.
- Change the position of fingers to avoid any inflammation or marking up on your skin while squeezing a second time.
- If you get nothing through squeezing, move on to the next part.
- Apply a topical acne treatment for better results.
Step 5: Mask Application
Easy DIY masks for at-home facials can be prepared at home. Simple ingredients available at home like papaya, aloevera, castor oil, oatmeal, yogurt, avocado and the most important honey are used to make DIY masks at home. Your skin type will suggest which type of face mask will suit it. However, no matter which type of skin you have, apply the mask accordingly and leave it for a maximum of 15 minutes.
Common easy DIY masks include:
Cream Masks: These masks are avail;able with a heavy consistency. If you have a drier skin type, the cream masks are great for you because your skin needs more nourishing compounds like oils and lipids.
Clay Masks: If you have oily skin with a large number of clogged pores, you need a clay mask. The clay helps draw out dirt and impurities from your skin. But try to use a hydrating clay mask that is infused with ingredients, nourishing for your skin. As the driver clay mask can split into million pieces leaving your skin dehydrated.
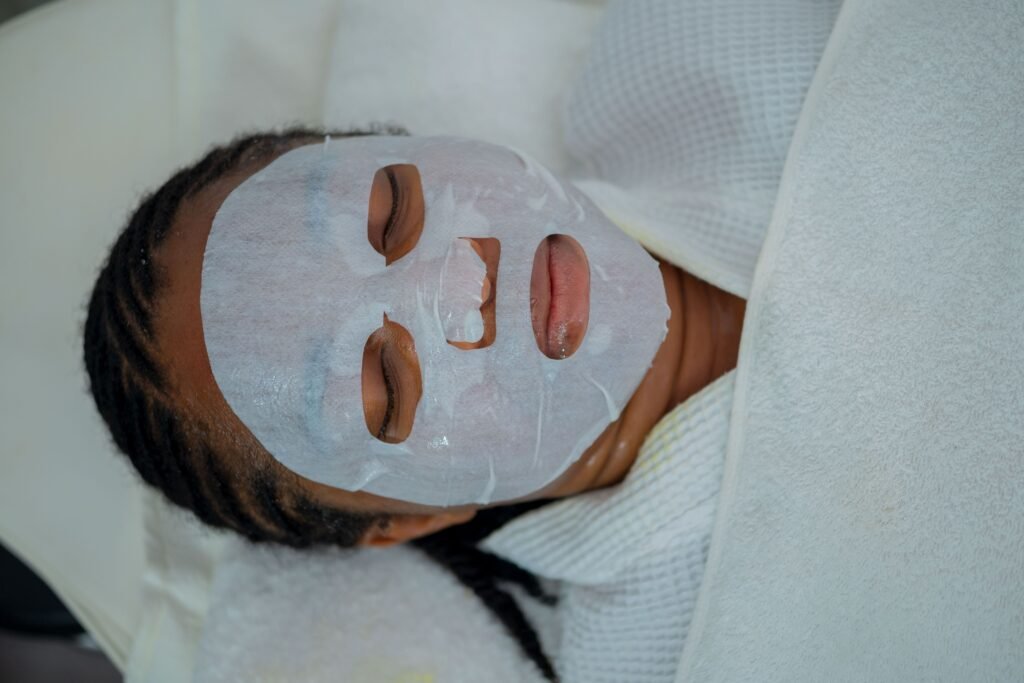
Sheet Masks: A gel with water-based hydration is infused in sheet masks to help resist dryness or dehydration. Therefore sheet masks are also great for the prole with drier skin type.
Gel Masks: They contain a gel that induces a calming and cooling effect to your skin. People having skin problems like rosacea or redness can also use it without any hesitation.
Step 6: Treating if you have certain skin concerns, like pigmentation or wrinkles, treating with serums is a great way to avoid such concerns. Treating specific skin products such as serums can reduce pigmentation issues. For example vitamin C serum is suggested for avoiding ignition.
In addition, serums contain cerasseveral active ingredients, such as Vitamin A, C, and E, topical retinols, antioxidants, niacinamides and peptides that help nourish your skin and stop the aging process.
Wrinkles can be removed by using serums containing retinoids or phyto-retinols. If you have a red, dry and flaky skin, prefer serums containing niacinamide and peptides.
Step 7: Moisturizing
After applying serum according to your skin type, go for a good layer of a high quality moisturizer that can suit your skin type. For oily skin you may opt for a light weight cream or lotion. While for drier skin type, a herbal cream or lotion may work better.
Step 8: Massaging
Massaging is the best part of your at-home facial procedure. This is not only good for relaxing your skin but also helps increase blood circulation and lymphatic drainage. Massaging in the correct way can also help in achieving a dew-puffed and dewy complexion. It also reduces irritation and redness of skin. Most people like to use their fingers for this step but using a spa tool for massaging is also a great opportunity to have a great massaging experience. Pairing your massaging procedure with a high quality facial oil can give you a final nourishment. For oily skin, coconut oil, sesame oil or jojoba oil are considered the best while avocado oil or rosehip oil are the best choice for those who have drier skin.
Conclusion
Skincare is the most enjoyable activity for females. They not only take care of their skin but get relaxed through such procedures. One of them is facial. Following simple and right steps of a perfect at-home facial; is the best way to have a smooth, brighter and glowing complexion without spending a lot of money at a spa or salon. Right products used in the right order are the great assurance for a luxurious spa-quality facial at home. However, don’t forget to talk to your dermatologist before using a skincare product fiorat-home facial if you have any skin problem.